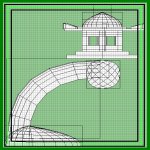
 Water Tunnels
This architectual add on has become a staple
of the shooter genre. They can be used as a secret
back entrance or simply as an obstacle to overcome.
The tunnel in this section is fairly simple for time sake.
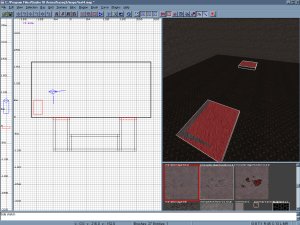
You'll need a room of course with an idea of where the
tunnel will begin and end. I've just used a basic room to
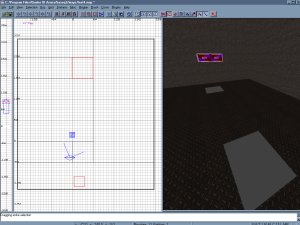
keep it simple. The first step will be to cut out the holes
that will be the entrance and the exit. Make a brush that
will be the same size of the entrance of your tunnel and
line it up with the floor so that the it rests just above and
below the floor level. Now hit the csg subtract button
and back space leaving a hole in the floor. Now cut out
the hole for the exit. Go under the map and create a brush
Water Tunnels
This architectual add on has become a staple
of the shooter genre. They can be used as a secret
back entrance or simply as an obstacle to overcome.
The tunnel in this section is fairly simple for time sake.
You'll need a room of course with an idea of where the
tunnel will begin and end. I've just used a basic room to
keep it simple. The first step will be to cut out the holes
that will be the entrance and the exit. Make a brush that
will be the same size of the entrance of your tunnel and
line it up with the floor so that the it rests just above and
below the floor level. Now hit the csg subtract button
and back space leaving a hole in the floor. Now cut out
the hole for the exit. Go under the map and create a brush

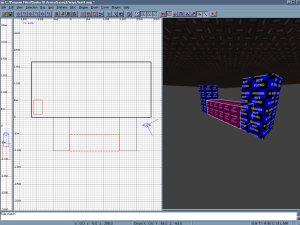
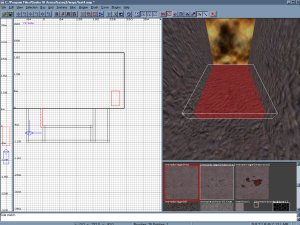
 that will match the opening in the floor and drag it
down below the floor. Now make a matching set on
the other side like the picture below. Connect the
two with a brush that has the same height and width.
Go ahead and texture all three brushes to make the
next step easier. Now hollow out all three brushes by
using the hollow tab. Go back up to your room and
remove the brushes that plug up the holes.
that will match the opening in the floor and drag it
down below the floor. Now make a matching set on
the other side like the picture below. Connect the
two with a brush that has the same height and width.
Go ahead and texture all three brushes to make the
next step easier. Now hollow out all three brushes by
using the hollow tab. Go back up to your room and
remove the brushes that plug up the holes.
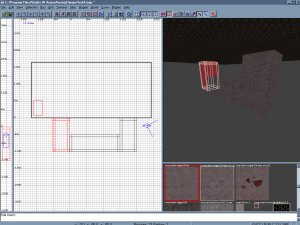 Then go down into your new tunnel and move the two
brushes blocking the center section up to what will
be the the ceiling of the center section. Then remove
the end brushes that make up the center section so
that there is a clear shot all the way through the tunnel.
Then go down into your new tunnel and move the two
brushes blocking the center section up to what will
be the the ceiling of the center section. Then remove
the end brushes that make up the center section so
that there is a clear shot all the way through the tunnel.
 Now it's time to add water!